Installing a battery isolator in a vehicle typically involves the following steps:
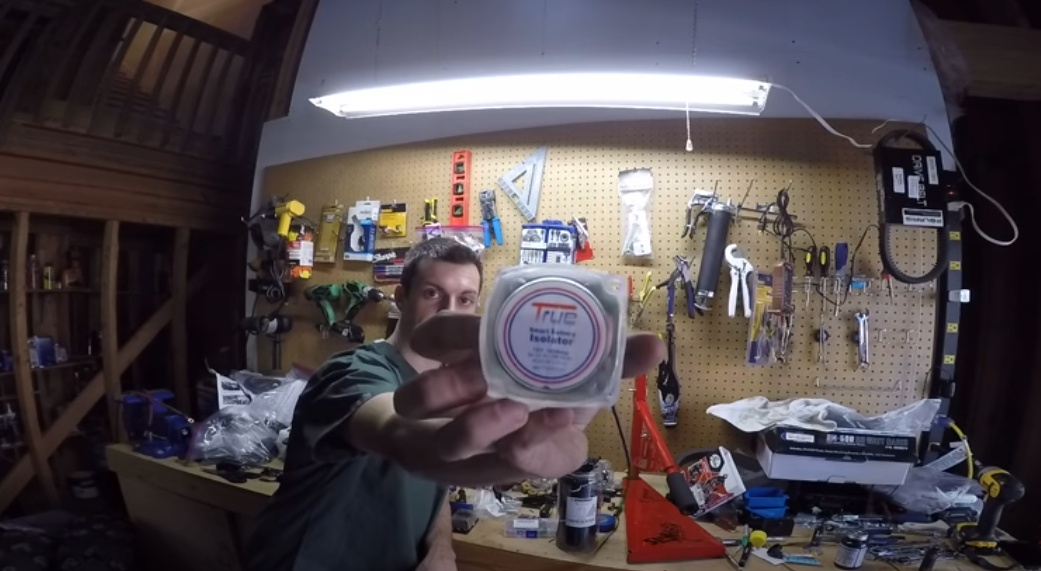
- Determine the Type of Battery Isolator: There are different types of battery isolators available, such as diode-based isolators, solenoid-based isolators, or solid-state isolators. Choose the type that suits your needs and vehicle setup.
- Gather the Required Tools and Materials: You’ll need tools such as wrenches, wire cutters/strippers, crimping tools, electrical tape, and the appropriate wiring and connectors for your specific installation.
- Disconnect the Battery: Ensure that the vehicle’s battery is disconnected to avoid any accidental electrical contact during the installation process.
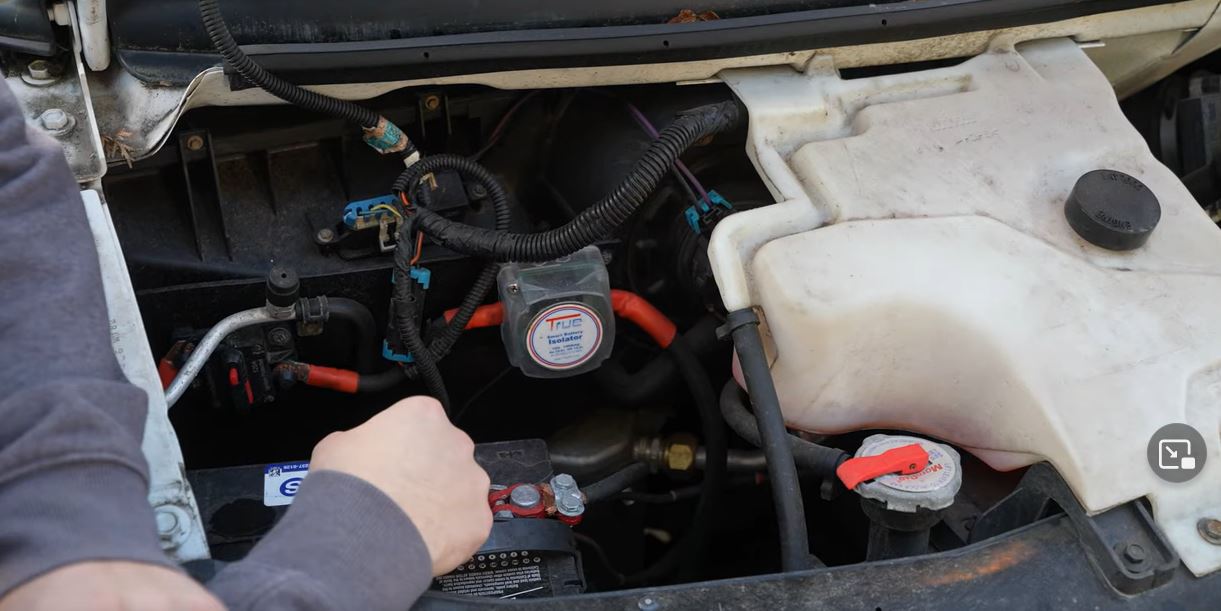
- Mount the Battery Isolator: Choose a suitable location to mount the battery isolator. It should be in a secure and easily accessible place. The isolator can be mounted on a bracket or directly to the vehicle’s frame.
- Connect the Power Source: Identify the power source for the battery isolator. It is typically connected to the vehicle’s primary battery or the alternator. Follow the manufacturer’s instructions to make the necessary connections.
- Connect the Batteries: Determine the battery bank setup and connect the batteries to the appropriate terminals on the battery isolator. The isolator will have connections for the primary battery and secondary batteries, if applicable.
- Connect the Grounds: Ensure proper grounding by connecting the grounding cables from the battery isolator to the vehicle’s chassis or grounding point. This helps complete the electrical circuit.
- Wire Routing: Route the necessary wires from the battery isolator to the batteries and power source. Make sure to secure the wires and protect them from potential damage or exposure.
- Secure and Test the Installation: Double-check all connections and ensure they are secure. Reconnect the vehicle’s battery. Test the system by turning on the vehicle and checking if the batteries are charging and isolated properly.
- Finalize the Installation: Once you have verified that the battery isolator is functioning correctly, secure any loose wires, and tidy up the installation by using zip ties or wire looms to organize the wiring.

It’s important to note that the specific installation process may vary depending on the type of battery isolator you use and the unique characteristics of your vehicle. It is recommended to consult the manufacturer’s instructions and, if needed, seek the assistance of a professional or experienced installer to ensure a safe and proper installation.