₱1,800.00
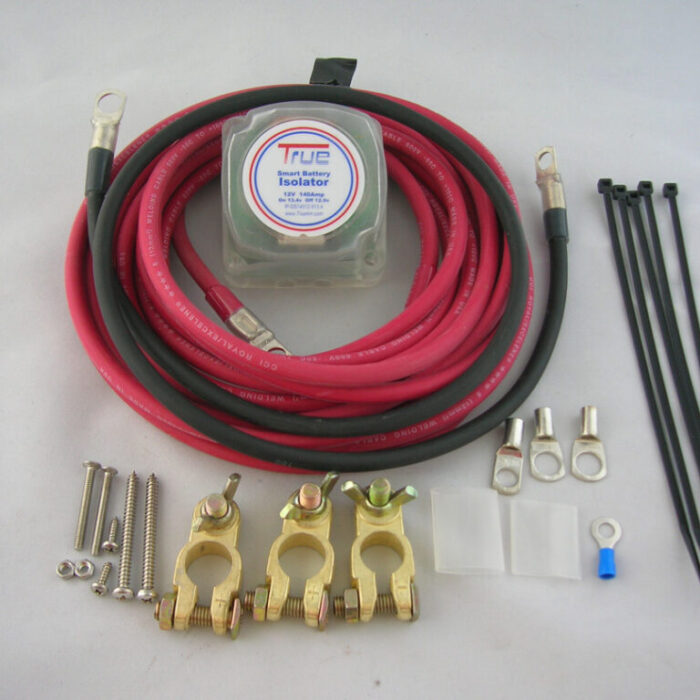
- A 100% air/water tight sealed cable
- A stronger battery cable
- High degree of elasticity
- Order will be delivery via Grab food as usual
- Payment can be COD, Credit Card or Gcash via Grab driber
- Cancelation of order is not allowed since it is consumable
- Change of quantity is accepted while on preparation
Description
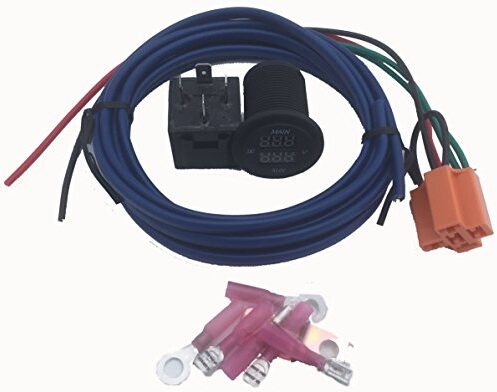
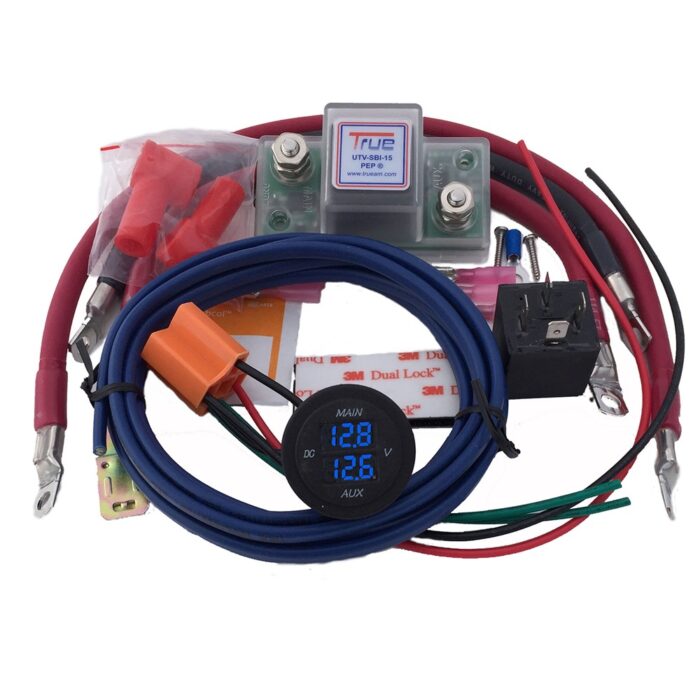
Battery Cable Replacement Composition
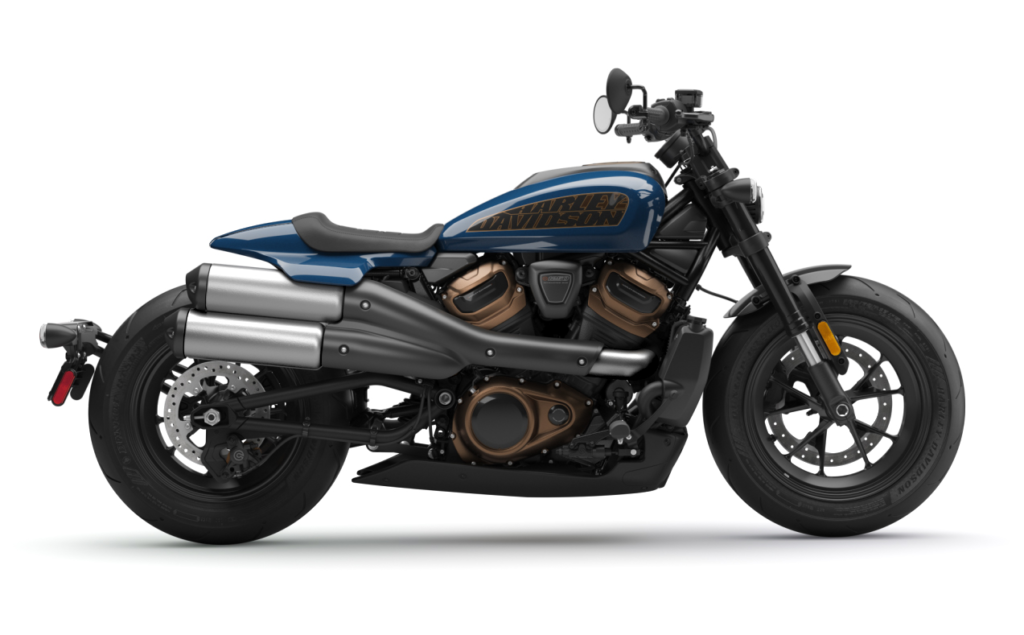
- Harley Davidson battery cables, 24″ Long
- (USA) 4 ga x 374 strand pure copper conductor
- Insulation made of EPDM
- (1) 1/4′′ tinned copper crimped end
- (1) 5/16′′ tinned copper crimped end
- Left, right, front, and rear placement
- BLACK is the color of choice.
- Better than the original BIG DOG motorbike battery cables
- Can be used for BIG DOG, Harley, and other models
These Harley Davidson battery cables are an essential part of the motorcycle’s electrical wiring and play a crucial role in starting the engine, powering lights, electronic components, and other electrical accessories.
Replacing motorcycle battery cables on a Harley-Davidson unit is a relatively straightforward process but requires some basic tools and mechanical skills.
Tools and Materials You’ll Need:
- Original HD 24″ motorcycle battery cable replacement fit for your Harley-Davidson model.
- Socket and wrench set.
- Wire brush or battery terminal cleaner.
- Safety goggles and gloves.
- Terminal protection spray or grease (optional).
- A motorcycle stand (optional, but helpful).
Steps to Replace Battery Cables on a Harley-Davidson Motorcycle:
- Safety Precautions:
- Ensure the motorcycle is turned off and the key is removed from the ignition.
- Disconnect the negative (black) battery cable first to avoid accidental electrical contact.
- Access the Battery:
- If necessary, remove any parts or panels that are obstructing access to the battery.
- Disconnect Old Cables:
- Use a wrench to loosen and remove the nuts or bolts securing the old battery cables to the battery terminals.
- Remove the old cables from the battery. Start with the negative cable and then the positive cable.
- Inspect and Clean:
- Examine the battery terminals for corrosion or dirt. Use a wire brush or battery terminal cleaner to clean the terminals thoroughly. Clean the Harley battery cables ends as well.
- Attach New Harley Battery Cables Gauge :
- Attach the new positive Harley Davidson battery cables to the positive battery terminal and secure it with the appropriate nut or bolt.
- Attach the new negative cable to the negative battery terminal and secure it.
- Tighten Securely:
- Make sure the connections are tight but not over-tightened, as over-tightening can damage the battery terminals.
- Optional: Apply Terminal Protection:
- You can apply a small amount of terminal protection spray or grease to the battery terminals to help prevent corrosion.
- Reassemble and Test:
- Reassemble any parts or panels you removed to access the battery.
- Turn on the motorcycle to ensure it starts and that all electrical systems are functioning correctly.
- Final Check:
- Double-check the tightness of the Harley Davidson battery cables connections.
- Ensure there are no loose wires or cables that could interfere with the operation of the motorcycle.
Remember to consult your Harley-Davidson owner’s manual for specific instructions related to your motorcycle model, as there may be slight variations in the process. If you’re not comfortable performing this task yourself, it’s advisable to seek assistance from a professional motorcycle mechanic or technician.