
I was working on a friend’s van and decided to show you how simple it is to install a dual battery system, especially on a full-size van like this Chevy Express.
We didn’t do a full conversion in this van like we did in mine, but he did want some extra power to power a fridge and charge phones, tablets, and other devices.
This one has a 5.7 small block in it, so it doesn’t need a second battery to start like the diesel vans.
But we were able to purchase the battery tray for the diesel van that mounts on the frame rail and bolts right into this chassis. In that tray, we were able to place a standard deep cycle battery. At this point, I figured it’d be easier to jump into the Airgram and do a little voiceover to explain how the system’s wiring works.
Circuit Breaker
So, in order to wire in an extra battery that is safe and isolated from this battery, we’ll need three main components. We’re going to wire a nice circuit breaker off the positive post of the starting battery.
An inline fuse could also be used.
I like the circuit breakers because you can reset or disconnect them if you need to service the battery or turn off the power. It simply makes things a little nicer and easier.
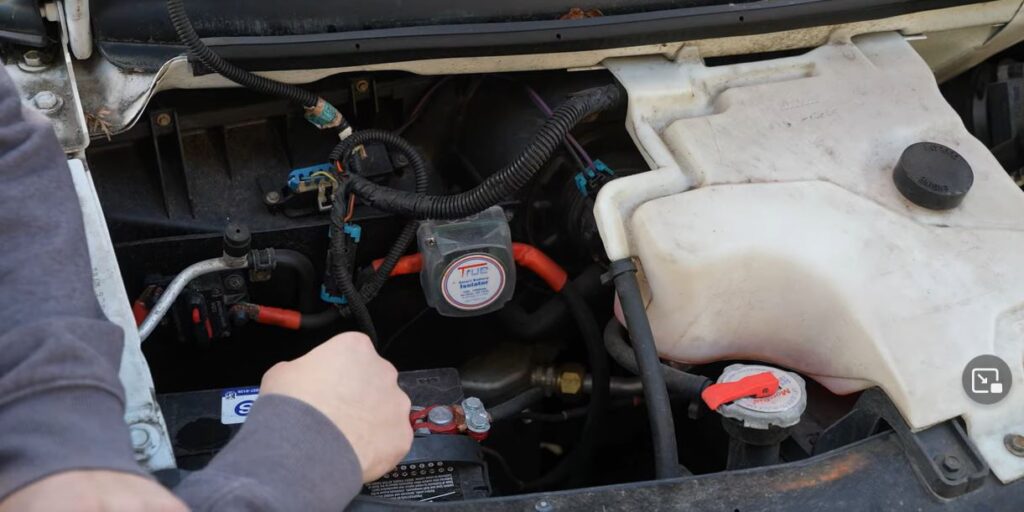
True® Smart Battery Isolator
Plus, if it blows, you can simply reset it. We’ll connect the other end of that circuit breaker to our voltage sensing relay, the True® Smart Battery Isolator. This is what will control the connecting and disconnecting of the auxiliary battery and protect our starting battery from being discharged. We’ll wire in another circuit breaker to run our accessories inside the van from the Smart Battery Isolator. It may appear redundant, but this is the proper way to do it. You want to be able to disconnect on either side of that relay.
Using Chassis for Negative Wire
We’ll connect the positive end of that circuit breaker to the positive end of our deep cycle battery.
You might be wondering what to do with the deep cycle battery’s negative end.
You can either connect it all the way back to the starting battery and connect it on the negative of that, but it’s usually easier and much cheaper to connect it to a nice ground spot on the chassis.
I accomplished this by removing some paint, inserting a rib nut into an existing hole in the frame rail, and bolting a negative terminal lug directly to the frame rail. That is essentially all that is required to connect the auxiliary battery.